The Ultimate Guide to DIY Hand-Painted Blank TCG Binders
From Blank Canvas to Your Own Legendary Grimoire
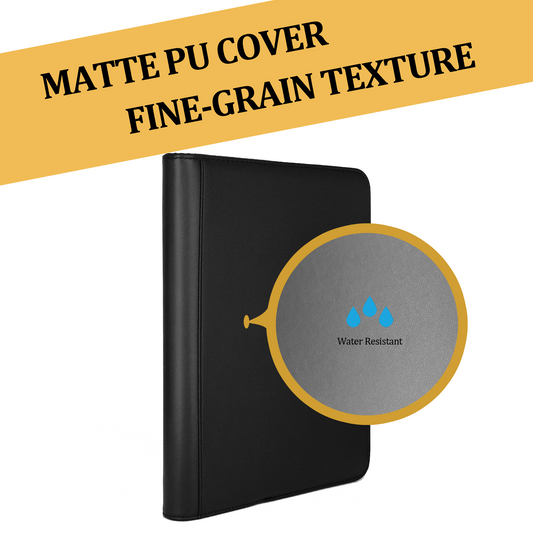
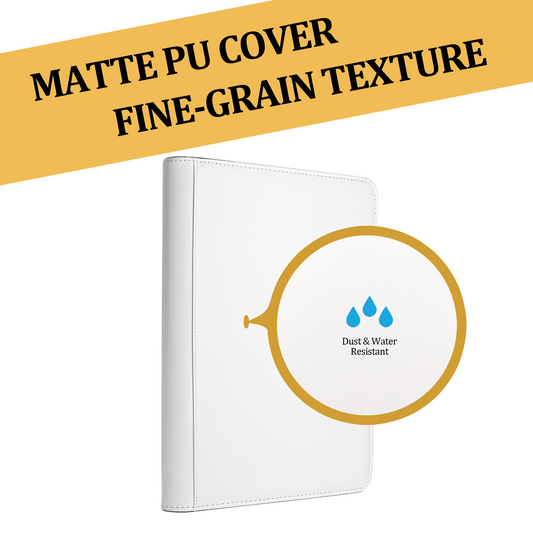
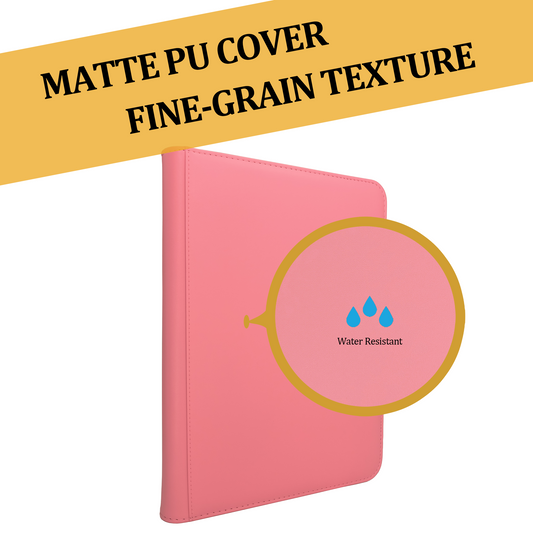
Welcome to the world of custom hand-painted art! Our blank matte PU leather binders are engineered to be more than just archival-grade armor for your precious card collection—they are the ultimate canvas for your creative vision.
Whether you are a seasoned artist or picking up a marker for the very first time, this masterclass guide will walk you through turning your binder into a one-of-a-kind masterpiece that will turn heads at your next local game night.
Phase 1: Prepping Your Canvas (The Make-or-Break Step)
Skipping this setup is the number one reason why beautiful custom art cracks, smudges, or peels over time. Factory-fresh PU leather naturally carries a microscopic, sleek protective layer. If you don't strip it down, your acrylic markers simply won't bite. Let’s prep it right.
🛠️ Step 1: The Purge (De-greasing)
- Your Gear: Lint-free microfiber cloth + 75% Isopropyl Alcohol prep pads.
- The Ritual: Gently brush away any microscopic surface dust with your dry microfiber cloth. Take the alcohol pad and buff your designated painting area in firm, overlapping circular motions. Let the cover air-dry completely for 3 to 5 minutes. True craftsmanship requires patience—ensure complete evaporation before moving on.
- ⚠️ Absolute No-Go: Stay far away from dish soaps, hand detergents, or anything containing oils. They leave a slick chemical film that destroys pigment adhesion entirely.
✏️Step 2: Micro-Sanding (Optional but Highly Recommended)
- Your Gear: 2000-grit ultra-fine sandpaper.
- The Ritual: Fold your ultra-fine sandpaper and use the edge to lightly caress the drawing area. Keep your sanding strokes moving in a single, consistent direction. Keep your pressure feather-light—we are only looking to micro-texture the surface, not sand through the leather. Once done, use your dry microfiber cloth to wipe away any residual dust particles.
- The Science: This process slightly opens up the leather’s microscopic pores, creating a "tooth" for the paint and ink to anchor into, making your artwork practically immortal.
✏️ Step 3: Mapping the Blueprint (Sketching)
- Your Gear: Medium-soft graphite pencil (HB or 2B).
- The Ritual: Faintly sketch the outline of your masterpiece onto the prepped surface. Keep your lines whisper-light—just dark enough for your eyes to track. Do not press down hard into the leather. Made a mistake? Don't panic. Gently dab it away with a clean eraser. Avoid aggressive, hard rubbing.
- 💡 Pro-Tip: Don't stress about faint pencil lines; they will be completely swallowed up and covered during the coloring process.
Phase 2: Mastering the Blueprint (Your Drafting Arsenal)
Drafting the initial sketch is the absolute foundation of your hand-painted masterpiece. Choosing the right tool will not only make your lines flow naturally but also grant you the freedom to modify your design without fear.
🌟 Top Pick for Beginners: Water-Soluble Vanishing Pen
This is the ultimate drafting weapon for anyone new to painting. It offers massive fault tolerance—if you make a mistake, you can easily tweak it at any time without leaving a single ghost line on the leather.
Here is a complete breakdown of the drafting tools you can use, tailored to your skill level:
💧 1. Water-Soluble Vanishing Pen (The Top Pick)
- 🟢 The Pros: Erases completely with water leaving zero trace; produces crisp, even lines; will not bleed into the leather pores.
- 🔴 The Cons: Slightly pricier than standard pens; sensitive to high humidity (store it properly or the ink may fail).
- 🎯 Best For: All beginners, especially those starting from absolute zero.
- 🛠️ The Ritual: Draw directly onto your prepped leather. Try to keep your strokes fluid and continuous without aggressively tracing over the same spot.
- 🧽 Clean-Up: Made a mistake? Gently wipe the line with a water-dampened cotton swab or lint-free cloth. Wait for the surface to dry completely before redrawing.
✏️ 2. Graphite Pencil (HB or 2B)
- 🟢 The Pros: Cheap and accessible; easily erasable; absolutely no risk of ink bleeding.
- 🔴 The Cons: Lines smudge easily under your resting hand; very light acrylic colors might struggle to cover heavy graphite marks.
- 🎯 Best For: Players with some basic drawing skills who need to adjust proportions and details frequently.
- 🛠️ The Ritual: Sketch your outlines with whisper-light pressure. Once the silhouette is locked in, use a soft eraser to gently lift away the messy excess lines, leaving only the core blueprint.
- 🧽 Clean-Up: Gently lift the graphite with a soft eraser. Never scrub hard into the PU leather surface.
🖋️ 3. Fine-Tip Oil-Based Marker
- 🟢 The Pros: Razor-sharp, high-contrast lines; incredible surface adhesion; dries almost instantly.
- 🔴 The Cons: Zero margin for error (cannot be easily erased); might slightly bleed into the leather if applied too heavily.
- 🎯 Best For: Confident artists with a steady hand who know exactly what they want.
- 🛠️ The Ritual: Always draft with a pencil first! Only commit to the marker once you are 100% satisfied with the sketch. Keep your hand steady and your drawing speed consistent.
- 🧽 Clean-Up: Nearly impossible to remove cleanly. Mistakes must be covered with matching opaque acrylics or desperately faded by scrubbing with an alcohol prep pad.
📄 4. Tracing Paper Transfer Method
- 🟢 The Pros: Flawlessly clones highly complex designs (like intricate TCG card art); laser-precise lines.
- 🔴 The Cons: The setup process is a bit tedious; requires purchasing specialized tracing paper.
- 🎯 Best For: Players with zero drawing experience who want to perfectly replicate a specific, complex image onto their binder.
- 🛠️ The Ritual:
- Print your desired design onto tracing paper.
- Rub graphite (pencil) evenly all over the back of the tracing paper.
- Tape the paper face-up onto your binder to secure it.
- Firmly trace over the design contours using a smooth, round-tipped tool (like an embossing stylus or a dried-out ballpoint pen) to press the graphite directly onto the leather.
- 🧽 Clean-Up: Peel off the paper to reveal the transferred outline. If the graphite is too dark, lightly tap it with a kneaded eraser to lighten the lines.
Phase 3: Bringing It to Life (Coloring Tools & Techniques)
Coloring is where the magic happens. The medium you choose will drastically dictate the final vibe of your grimoire. Here is the ultimate breakdown of your coloring arsenal, along with the techniques to master them.
🌟 1. Acrylic Markers (The Beginner's Holy Grail)
- 🟢 The Pros: Incredible coverage with vibrant, highly saturated colors. Fast-drying, minimizing the risk of accidental smudges. Extremely durable surface adhesion; highly resistant to peeling. Massive color selection available on the market. Plug-and-play simplicity—perfect for rookies.
- 🔴 The Cons: Thicker nibs make ultra-fine micro-detailing difficult. Color blending and layering aren't as seamless as liquid paints. Slightly higher price point.
- 🛠️ The Ritual: Always work your way from light colors to dark colors. Try to fill solid blocks of color in a single, confident stroke to avoid overworking the surface. Wait for the first layer to dry completely before applying a second coat. When covering large areas, keep your marker strokes moving in one consistent direction to prevent streaking.
- ⚠️ Crucial Note: Always shake the marker vigorously before pressing the nib down to ensure the acrylic pigment is properly mixed!
🖌️ 2. Liquid Leather Paint & Brushes (The Master Craftsman's Choice)
- 🟢 The Pros: Infinite custom color mixing possibilities. Absolute maximum coverage and opacity. Allows for rich textures, dimensional layering, and advanced shading. Ideal for painting massive surface areas flawlessly.
- 🔴 The Cons: Slower drying time; highly susceptible to accidental hand smudges. Requires extra gear (palettes, water cups, brush sets).Demands a solid foundation in traditional painting techniques.
- 🛠️ The Ritual: Squeeze paints onto your palette and mix your desired shades. Load your brush lightly—do not overload the bristles. Apply with even strokes in a consistent direction. Wait for a full cure between layers before adding glazes or fine details.
- ⚠️ Crucial Note: Wash your brushes in clean water immediately after use. Dried acrylic or leather paint will ruin your bristles forever.
💧 3. Watercolors (The Ethereal Aesthetic)
- 🟢 The Pros: Translucent, delicate, and refreshing aesthetic. Incredible for soft gradients and wash effects. Extremely fast-drying.
- 🔴 The Cons: Poor opacity; cannot cover dark drafting lines. Highly prone to uncontrollable bleeding on PU leather pores. Weak surface adhesion; easily scratched off.
- 🛠️ The Ritual: Mix your colors on a palette first. Use a damp brush to lift the pigment. Apply lightly to the leather, using water volume to control the opacity. Blend while the paint is still wet to achieve organic, fading gradients.
- ⚠️ Crucial Note: Watercolors are strictly for light-colored canvases. This medium will only work on lighter bases like our Snow White or Pink binders, and will completely vanish on Black or deep-colored ones.
✨ 4. Oil-Based Paint Pens (The High-Gloss Finisher)
- 🟢 The Pros: Insanely vibrant with a premium glossy finish. Unrivaled opacity and coverage. Bulletproof adhesion; highly scratch-resistant once cured.
- 🔴 The Cons: Strong chemical odor during application. Extended drying time. Zero margin for error (virtually un-erasable once applied).
- 🎯 Best For: Perfect for popping tiny eye-highlights, adding metallic accents, or drawing striking light-colored designs directly onto a Black binder.
🏆 The Ultimate Rookie Recommendation: Acrylic Markers
If you are just starting out, Acrylic Markers are the undisputed top tier. They offer the easiest learning curve, high fault tolerance, and stunning instant results. We highly recommend starting your creative journey with acrylic markers to build your confidence before leveling up to liquid paints and brushes.
Phase 4: Locking It In (The Curing & Sealing Process)
Curing is the final and most crucial step to ensure your hand-painted grimoire survives the wear and tear of countless tabletop battles. If you want your artwork to last, absolutely do not skip this phase!
🌬️ 1. Natural Air Drying (The Patient Approach)
- Time Required: 24 to 48 Hours.
- The Ritual: Lay your binder completely flat in a well-ventilated, dry environment. Keep it strictly out of direct sunlight to prevent the PU leather from warping or the colors from bleaching.
- ⚠️ Crucial Note: Resist the urge! Do not touch the painted area, and absolutely do not close the binder cover before it is 100% bone-dry.
🔥 2. Heat Curing (Highly Recommended)
- Your Gear: A standard hairdryer (set to high heat).
- The Ritual:
- Wait until the surface paint is dry to the touch (usually about 1 hour after painting).
- Hold the hairdryer 15-20cm (6-8 inches) away from the binder and sweep it to apply even heat across the artwork.
- Heat each section for 3-5 minutes.
- Let the binder rest undisturbed for 24 hours after the heat treatment.
- The Science: Heat drastically accelerates the chemical curing process and essentially "bakes" the pigment into the leather's microscopic pores, massively increasing its scratch resistance.
- ⚠️ Crucial Note: Keep the dryer moving continuously! Blasting a single spot for too long will permanently warp or melt the PU leather.
🛡️ 3. Applying the Ward (Protective Sealant - Optional but Highly Recommended)
- Your Gear: Matte Acrylic Finisher Spray (Aerosol).
- The Ritual:
- Ensure your artwork is 100% fully cured (wait at least 48 hours after your final paint layer).
- Move to a well-ventilated area (preferably outdoors) and lay your binder flat on some newspaper.
- Hold the spray can 20-30cm (8-12 inches) away and sweep across the cover, applying an even, light coat.
- Wait 30 minutes for the first coat to dry, then apply a second coat. (We recommend 2 to 3 light coats in total).
- Let it sit undisturbed for a final 24 hours to allow the protective seal to fully harden.
- The Perks:
- ✅ Forges an invisible armor to protect your art from fingernail scratches and deck-box friction.
- ✅ Grants waterproofing and stain resistance for worry-free daily use and travel.
- ✅ Locks in the pigment and prevents your vibrant colors from fading over time.
- ⚠️ The Golden Rule: You MUST use a MATTE finish spray. Using a gloss or semi-gloss spray will completely destroy the premium, subdued matte aesthetic of the original binder material.
📜 Epilogue: Forging Your Legacy
Customizing your grimoire is a journey meant to be heavily enjoyed. Do not fear making mistakes—every single brushstroke is a testament to your unique creative vision. Even the most minimal lines, abstract symbols, or simple geometric patterns can elevate your binder from a standard accessory into a legendary artifact that stands out at any table.
Now, pick up your tools, unleash your imagination, and start forging your ultimate custom binder!